Hey there, fellow Explorer enthusiast! Today, I’m excited to walk you through a simple yet crucial maintenance task for your vehicle. Last year, amidst a hectic move and job change, I tackled this maintenance at 67,000 miles. Here’s how you can do it too.
What You’ll Need:

- Multi-Use Transfer Pump – Essential for syphoning out the old fluid and refilling the differential.
- SAE 80W-90 Rear Axle Lubricant – To refill the fluid
- Drain Pan – To ensure no spills or mess.
- 3/8 Ratchet Wrench – Perfect for opening the fill hole.
- High Temperature Thread Sealant – Ensures no leaks from the fill nut.
Step 1: Elevate Your Vehicle

Ensure your vehicle is level. I elevated both the front and rear, checking with a water level.
Step 2: Locate the Rear Differential

The rear differential is above the exhaust pipes. Refer to the photo for exact location.
 For added clarity, I’ve also provided a close-up view of the fill bolt.
Step 3: Unfasten the Fill Bolt Using a 3/8 Ratchet Wrench
 Use a 3/8 ratchet wrench to remove the fill bolt.
 Fill bolt removed.
Step 4: Drain the Old Fluid

 Insert the pump’s suction side into the differential. I drained the fluid into a measuring cup so I can measure how much was in there.
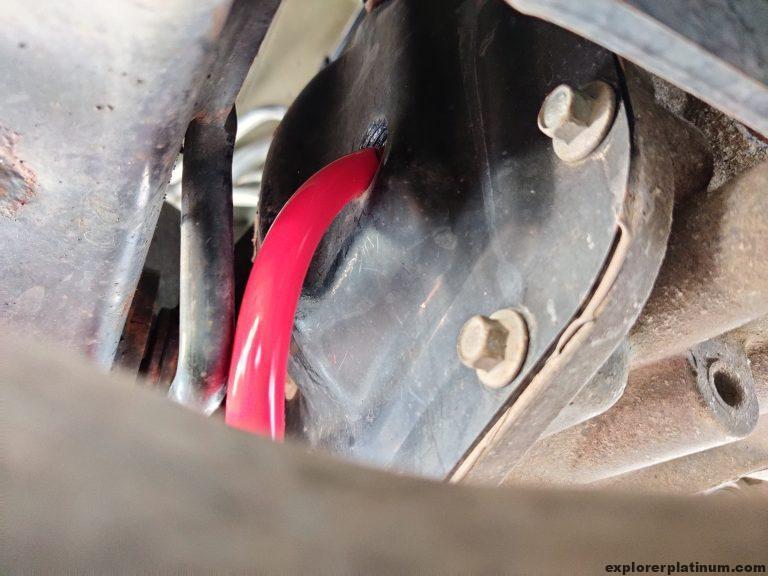
Step 5: Refill with Fresh Fluid
 Switch the pump hose to the new fluid bottle. Fill the differential until fluid starts to spill out.
Step 6: Secure the Plug
 For a leak-proof seal, I applied high-temperature thread sealant on the plug before reinstalling. This ensures a tight and safe closure.
Conclusion:
 The fluid change proved to be more straightforward than I initially anticipated, especially with the aid of the multi-use pump. However, I was taken aback when I could only drain approximately 18 oz, given the differential’s maximum capacity of 33.76 oz. Nonetheless, I’m pleased to have successfully carried out this maintenance and ensured the rear differential is now filled to the appropriate level.
I did my second rear differential fluid change… The first change was about a year ago and the fluid color was a dark brown / black color… The fluid level fill from the factory was quite a bit below the fill hole, the drain plug magnet was dry… No leaks around the differential…
When I did my recent change a couple of days ago I was pleased to see some fluid leaked out of the fill hole when I removed the drain plug, and the color was more of an amber color….
I appreciate your maintenance videos… Very hepful!
2016 Explorer – impossible to stick in regular 3/8 square in the plug , so tight there
need to make some special tool , Shops prob use some . Anybody knows ?