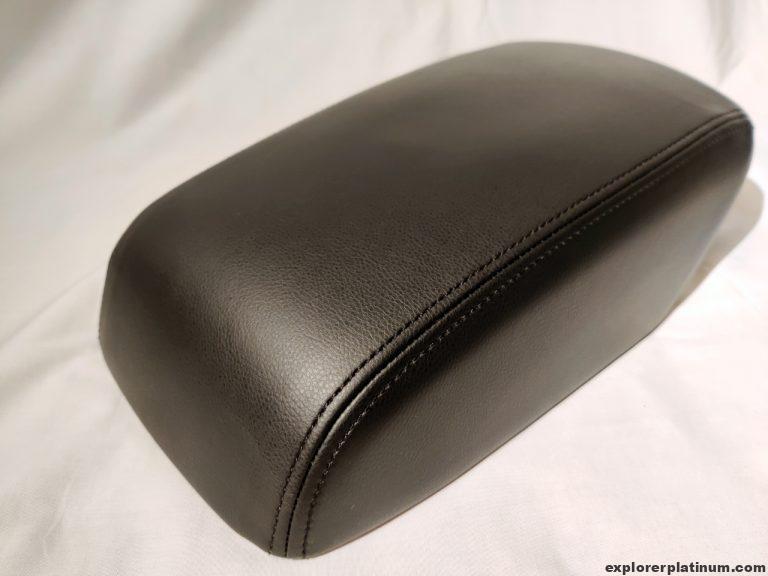

When I bought my 2017 Ford Explorer Platinum, the first thing I noticed was the heavily scratched center console lid. It seemed like the previous owner might have had a pet wolverine. The picture above doesn’t fully capture the extent of the scratches due to the glare. So, one of my top priorities was to replace the center armrest cover to give the interior a fresh, new-car feel. I was delighted to find that replacement covers were available on Amazon. This project was straightforward and made a tremendous difference in the appearance and feel of the interior. Here’s how I replaced the center console cover:
What I used:
- Replacement center console lid armrest cover
- Trim removal tool
- T20 screwdriver
- Philips screwdriver
- Flathead screwdriver
- Pliers
- Heavy duty stapler gun
- Heat Gun (a hair dryer would also work)
Step 1. Removing the center console lid
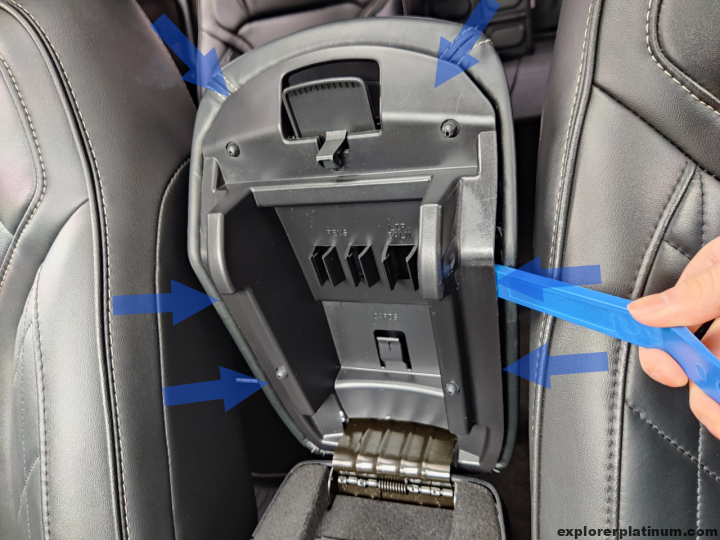
I inserted the trim removal tool between the leather and the plastic piece to disengage the clips. The arrows in the image indicate where I inserted the trim tool.

After prying off the plastic piece, I removed the hinge using a T20 screwdriver.
Step 2. Removing the previous cover
This step requires time and patience, as you’ll need to remove all the staples holding down the leather cover. I used a flathead screwdriver to pry out one staple leg first and then used pliers to pull out the rest. The process was somewhat therapeutic.


 Here’s what it looks like without the leather cover, in case you’re curious.
Step 3. Install the new cover

I fitted the new cover over the lid and found that it fit perfectly! There was a minor difference in the leather grain, but it didn’t bother me since I actually preferred the texture of the replacement. I’m pretty confident that my passengers won’t even notice the difference. I also opted for the black thread design because white threads tend to become yellow and dirty over time.

With the new cover in place, I used a heavy-duty staple gun to secure it to the console lid. I began by adding “starter staples” to hold the leather in place. During this process, I made sure to stretch the leather to achieve a snug fit. A helpful tip for stapling: I used a heat gun to warm up the plastic areas where I planned to staple. This softened the plastic, making a significant difference in stapling. Most heavy-duty staple guns struggle to penetrate thick plastic.
After securing the starter staples, I added more staples as needed. I also had to cut slits near the clip inserts to ensure the leather wouldn’t block the opening.

Here are a few more helpful tips:
- The leather cover from Amazon might have creases due to folding and packaging. To address this, I used a hair dryer to gently warm up the leather and massaged the creases. They gradually began to flatten out. There was still a very small crease, but I expect it to fade with time.
- Near the tip of the console lid, there was some overlapping leather. To resolve this, I simply cut slits and folded one side over the other, then stapled them in place.
Step 4. Reassemble everything
Now, it’s time to reassemble everything. Here’s the final result:

Before and After:


The result is a significantly improved appearance and feel of the center console in my vehicle. This simple project made a tremendous difference in the overall look of my car’s interior, and I’m thrilled with the outcome.
Thanks for the article! What length of staples did you use?
Hello Mark! The staples came with my heavy duty staple gun that I purchased from Amazon. On the Amazon page, it shows that the length of the staple is measured at 4-14mm.
Thanks for the reply. I got my new cover mounted and it turned out great. Having the pictures and the commentary in your article really helped. Much appreciated
Anytime!
Fantastic instructions. Followed and it went perfect! Thank you!
Thanks for this! I had already purchased the new cover but was unsure how to get the bottom clips off, this showed me right where to push and as well the hint about using the heat gun to allow the staples to go in was perfect!
Anytime! Glad you found this article helpful!
Thanks for the instructions. Worked great for me! As you say, heating up plastic frame first helps. I had zero luck using a heavy duty stapler with 1/4″ deep staples. They were simply too thick. For me, the key was to switch to LIGHT duty stapler with JT21 staples (1/4” as well but thinner like regular staples).
Hey Kelly! Glad the thinner staples worked for you. I’ll admit the heavy duty staples were difficult to put in.
Howdy…I may be the dummy here but I bought the trim removal kit but I can’t figure out which tool to actually use. Also are you pushing a clip in or pushing down? I’ve tried several times and can’t disengage the clips. I’m worried I may break something and end up with a bigger problem.
Your help would be appreciated.
Hey Tim. For me I had to push the clips inwards. I was able to pop them out without much difficulty and it shouldn’t be that stubborn.
Thank you…..
I guess I’m a dummy. Can you post the company and model number you ordered to replace your cover? I see some out there but they all seem to be slip-overs instead of replacements. Mine is black with black stitching along the sides as well
Hello Dick! Here’s the direct link to the product I purchased: https://amzn.to/2RFDT6x
Also, under “What I used” I provide
list of tools I used. The list is also are clickable and will take you directly to product.
Let me know if you need anymore help.